Salesforce Maps is a powerful data intelligence tool offering impressive location data visualization, live location tracking, route optimization, and more. It’s the best way to embed and use maps within Salesforce and to understand how your Salesforce data is mapped geographically.
In this four-part Developer Deep Dive series on Salesforce Maps, TruSummit Solutions’ Senior Salesforce Developer Mike Chandler demos Salesforce Maps and walks through the process of prepping your data for use in Salesforce Maps; creating and implementing drive times and distances; and optimizing your Apex customizations with a custom open source tool called TSSMaps.
In our first video, Mike demonstrates how to configure both standard and custom objects for Salesforce Maps geocoding. As Mike says, “Without longitude and latitude values for your records that you want to plot on a map, you’re just not going to be able to get very far.” (Get it?!)
TRANSCRIPT:
Hi, I’m Mike, a Salesforce developer with TruSummit Solutions. In this video, I’ll cover the basics involved in setting up geocoding on an object using Salesforce Maps. This video is part one in a series of development focused Salesforce Maps tutorials that I intend to do over the course of the next few days For this particular exercise, the first thing that we need to do before we can start leveraging the developer tools that come with Salesforce Maps is we have to start augmenting our Salesforce records with geocode data. Without longitude and latitude values for your records that you want to plot on a map, you’re just not going to be able to get very far. So there’s a couple things that I’m going to show you. In this video. I’m going to show you how to configure a standard object for Salesforce Maps geocoding, and then after that I’ll show you how to configure a custom object with custom fields for geocoding.
Let’s go ahead and start with that standard object and we’ll jump into this setup. I need to start in setup and I need to search for installed packages. So let me do that. So I’ll select installed packages. I need to click the configure link to bring up the Salesforce maps options here in the Salesforce maps installed package. So I’ll click that configure link here. And then from here I want to choose the base object choice, and we’re going to go ahead and we’re going to create a new base object. So to do so, I’m going to select from this dropdown selection, I do have a record type for accounts called storefront. I’d like to update all storefront accounts with geolocation details so that I can plot each storefront on a map and then eventually leverage the Salesforce Maps API to track driving distances between storefronts.
So I’ll configure this new base object accordingly so that I can have what I need to reach that objective. So I’ll start by selecting Object, and I’m going to give this a name called Storefront Accounts, and we’re going to specify this object as the address location. So we’re basically saying here that the address fields will exist on this object, which is the account. The record type for this particular base object that we’re creating is going to be the storefront record type that I had mentioned earlier. So I’ll scroll down a little bit and what I want to do is define the address fields. So for this particular exercise, we’re going to specify that our address fields that we want geolocation data on are the billing address fields as opposed to the shipping address fields on the account. So let’s go ahead and do that mapping. We’re going to first map the street address, so let me select that and we’ll do city and state and we’ll check postal code, and then we’ll select the billing country as the country value. So now that those address fields are defined, the last thing that we need to make sure that we do at a minimum at least, is to specify the location for storing the values for latitude and longitude. So since we’re working with those billing fields, I’ll just go ahead and specify the billing latitude as the latitude field, and then the billing longitude as the longitude field that we want to write to. Now, there are other things that you can configure on this screen, but for our purposes, we’re just going to leave everything else as default and we’ll just save what we’ve just done. Now, before I start populating this object with geolocation details, let me show you what it’s like to work with a custom object. It’s really about a straightforward, I have a custom object with custom fields representing address fields, and I’m going to create a new base object like I just did here in Salesforce Maps that represents this object.
My custom object is called Super Demo Object. So let me find that. We’ll create a new base object. We want to look for super demo Object. We don’t see it, so let’s go ahead and check this box that says, view all Salesforce objects. Now, when we bring this dropdown up, we’ve got quite a bit more to see, so let’s go ahead and see if we can find that object. And here it is, we’ll select it and we’ll just call this super demo test, and we’ll say that the address fields exist on this object. We know that they do. We don’t need to specify a record type. We’re just giving you an example of what it’s like to map the address fields to a custom object. So I know that I’ve got some custom fields on my object. They are appropriately named, so very, very easy to map here, and I don’t have a country field, so I’ll leave that blank.
The Latitude field we called, I believe, latitude, and the Longitude field, we called Longitude. So it’s very straightforward, very simple. Okay, so circling back to my storefront accounts, I want to now leverage Salesforce Maps to begin populating my records with valid geolocation details. I’ve executed a SOQL query in the developer console. I’ll bring it over so you can see it to demonstrate that my storefront account records, they have billing address details. As you can see, we’ve got a billing street, we’ve got Billing City, but we don’t have the longitude and the latitude values that we need. So let’s go ahead and fix that back in the Salesforce Maps configuration screen. I’m going to go ahead and select automations. I have the option to schedule this update, but I want to run this right away. So I’m going to go ahead and choose Run Manual Batch. I want to get the longitude and latitude details for my storefront account. So I’ll select that as the base object, and then what I’ll do is I’ll select this Start Geocoding batch button, and that tells me that the batch has started. Next thing I want to do is I’ll select the last five batches tab here, and I’ll click this refresh button, and that’s going to show me that we’ve got a total of 97 batches that have just started, and we’ve processed three of those batches. So if I bring this up again and I show you what we’re querying for, I’ll press Execute. You see now that as it’s going through and conducting its task, it’s updating the billing longitude and the billing Latitude values. I’ll scroll through here and you can see that there’s still some work for it to do, but I’ll close that out, and by now it’s probably, I’ll click this refresh button. It’s probably pretty far along. Yeah, it looks like it’s about halfway through.
So time has passed and this process has completed. Obviously, you can periodically refresh and monitor the progress as it moves along. When the job completes, then you can go ahead and query the data. Once again, I’ll go ahead and close out my results here. Just run this SOQL query one more time. And when we scroll through the results, you can see that every one of these records now at this point has got billing longitude and billing latitude values completed. So that concludes this video on Salesforce maps. Subscribe to the TruSummit Solutions channel for similar content with more upcoming videos related to Salesforce maps. Thanks for watching.
Need help leveraging the latest Salesforce features and functionalities? Our developers are here for you! You know where to find TruSummit Solutions.
Featured Articles

Why picklists beat checkboxes for long-term scale
At our annual Summit (In-person company conference), I shared a simple but powerful lesson in Salesforce architecture: Checkboxes may feel…

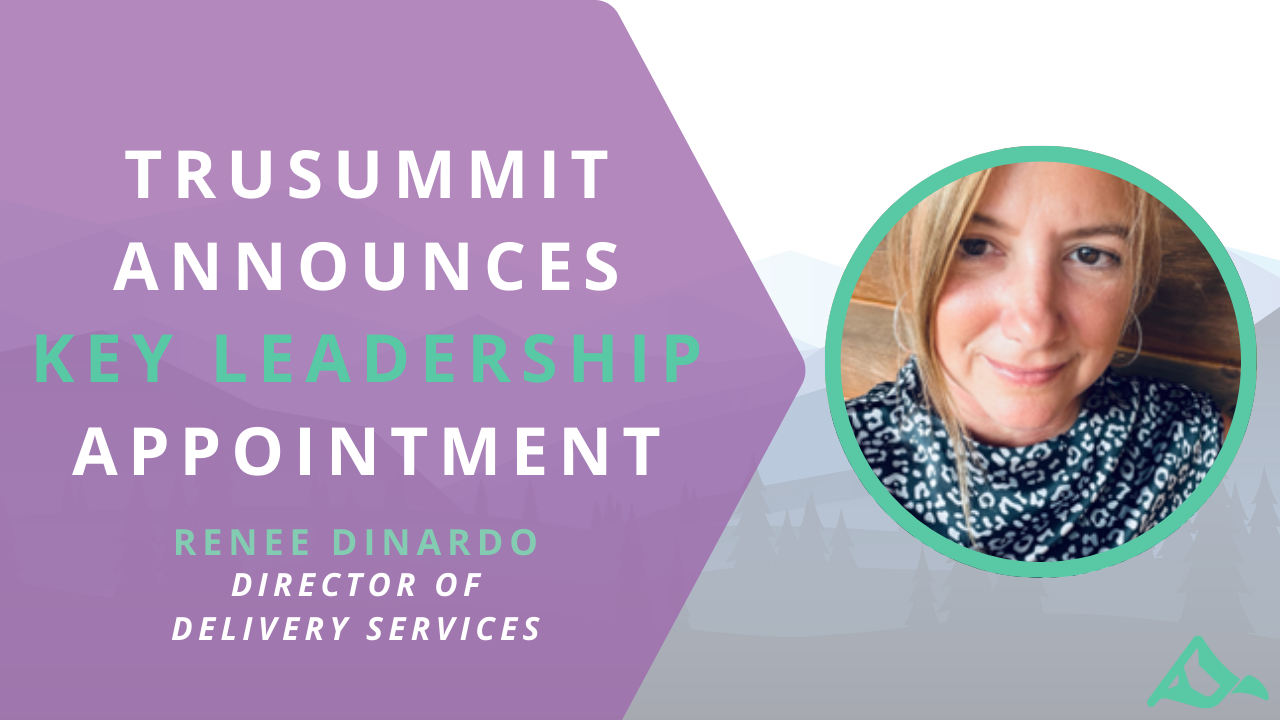
TruSummit Solutions Announces Key Leadership Appointment, Director of Delivery Services
PITTSBURGH, PA – 22 May 2025 – TruSummit Solutions, a leading Salesforce consultancy, today announces the appointment of Renee DiNardo…

Trailblazer DX 2025: Inside Scoop
Have you heard? Agentforce is the talk of the town – or in this case, conference! I had the privilege…